To geotag photos on Mac, record a GPS track during your shoot, then use HoudahGeo to match each photo's timestamp to the track and write the coordinates into the file's EXIF metadata. The result is a GPS-tagged photo that carries its location permanently — visible in Lightroom, Apple Photos, Google Photos, and any other app that reads EXIF. This guide covers every method, from GPX track matching to manual pinpointing.
What Is Photo Geotagging?
Geotagging means embedding GPS coordinates — latitude, longitude, altitude — directly into the EXIF metadata of your photo files. Once embedded, that location data travels permanently with your photos wherever they go: into Lightroom, onto Google Photos, to a colleague's computer, or through future software migrations.
This is fundamentally different from assigning locations inside a specific app. Read What is Geotagging? for a deeper explanation of metadata standards and why the distinction matters.
The Key Point
Geotagging writes GPS coordinates into the photo file itself — not just into an app database. The location is there whether you open the file in Lightroom, Preview, Finder, or any other software.
What EXIF GPS Data Does Geotagging Write to Your Photos?
EXIF (Exchangeable Image File Format) is the metadata standard built into every digital photo. Inside the EXIF structure is a dedicated GPS sub-directory called the GPS IFD (Image File Directory), which stores all location fields.
The key GPS fields written by HoudahGeo are:
| EXIF Field | What It Stores |
|---|---|
GPSLatitude / GPSLatitudeRef |
Geographic latitude (degrees, minutes, seconds) and N/S hemisphere |
GPSLongitude / GPSLongitudeRef |
Geographic longitude and E/W hemisphere |
GPSAltitude / GPSAltitudeRef |
Elevation in meters above (or below) sea level |
GPSImgDirection |
Compass heading the camera was pointing when the photo was taken |
GPSTimestamp / GPSDateStamp |
UTC time and date of the GPS fix (from the track log) |
JPEG, RAW, and video: HoudahGeo writes GPS metadata directly into JPEG files, most RAW formats, and video files. For RAW formats it doesn't recognize, or when you prefer not to touch your originals, it writes a .xmp sidecar file instead — which Lightroom and Capture One read automatically.
JPEG+RAW pairs: Many cameras save each photo as both a JPEG (for quick sharing) and a RAW file (for editing). HoudahGeo recognizes these pairs and writes location data to both files in one step, so you never have to geotag the same shot twice.
IPTC location names: Beyond GPS coordinates, HoudahGeo can write human-readable location names (city, state, country) into IPTC fields using reverse geocoding. This makes your photos searchable by location name in any cataloging tool.
Location Data That Travels With Your Photos
EXIF GPS data is embedded in the file itself. When you share, export, or open photos in any app — the location is always there. No app database lock-in.
What Are the Methods for Geotagging Photos on Mac?
HoudahGeo supports four distinct methods, each suited to different shooting situations:
GPS Track Log Matching
The most powerful method. Load a GPX file recorded during your shoot — HoudahGeo matches each photo's timestamp to the GPS track automatically. See the full guide: GPX Geotagging Workflow.
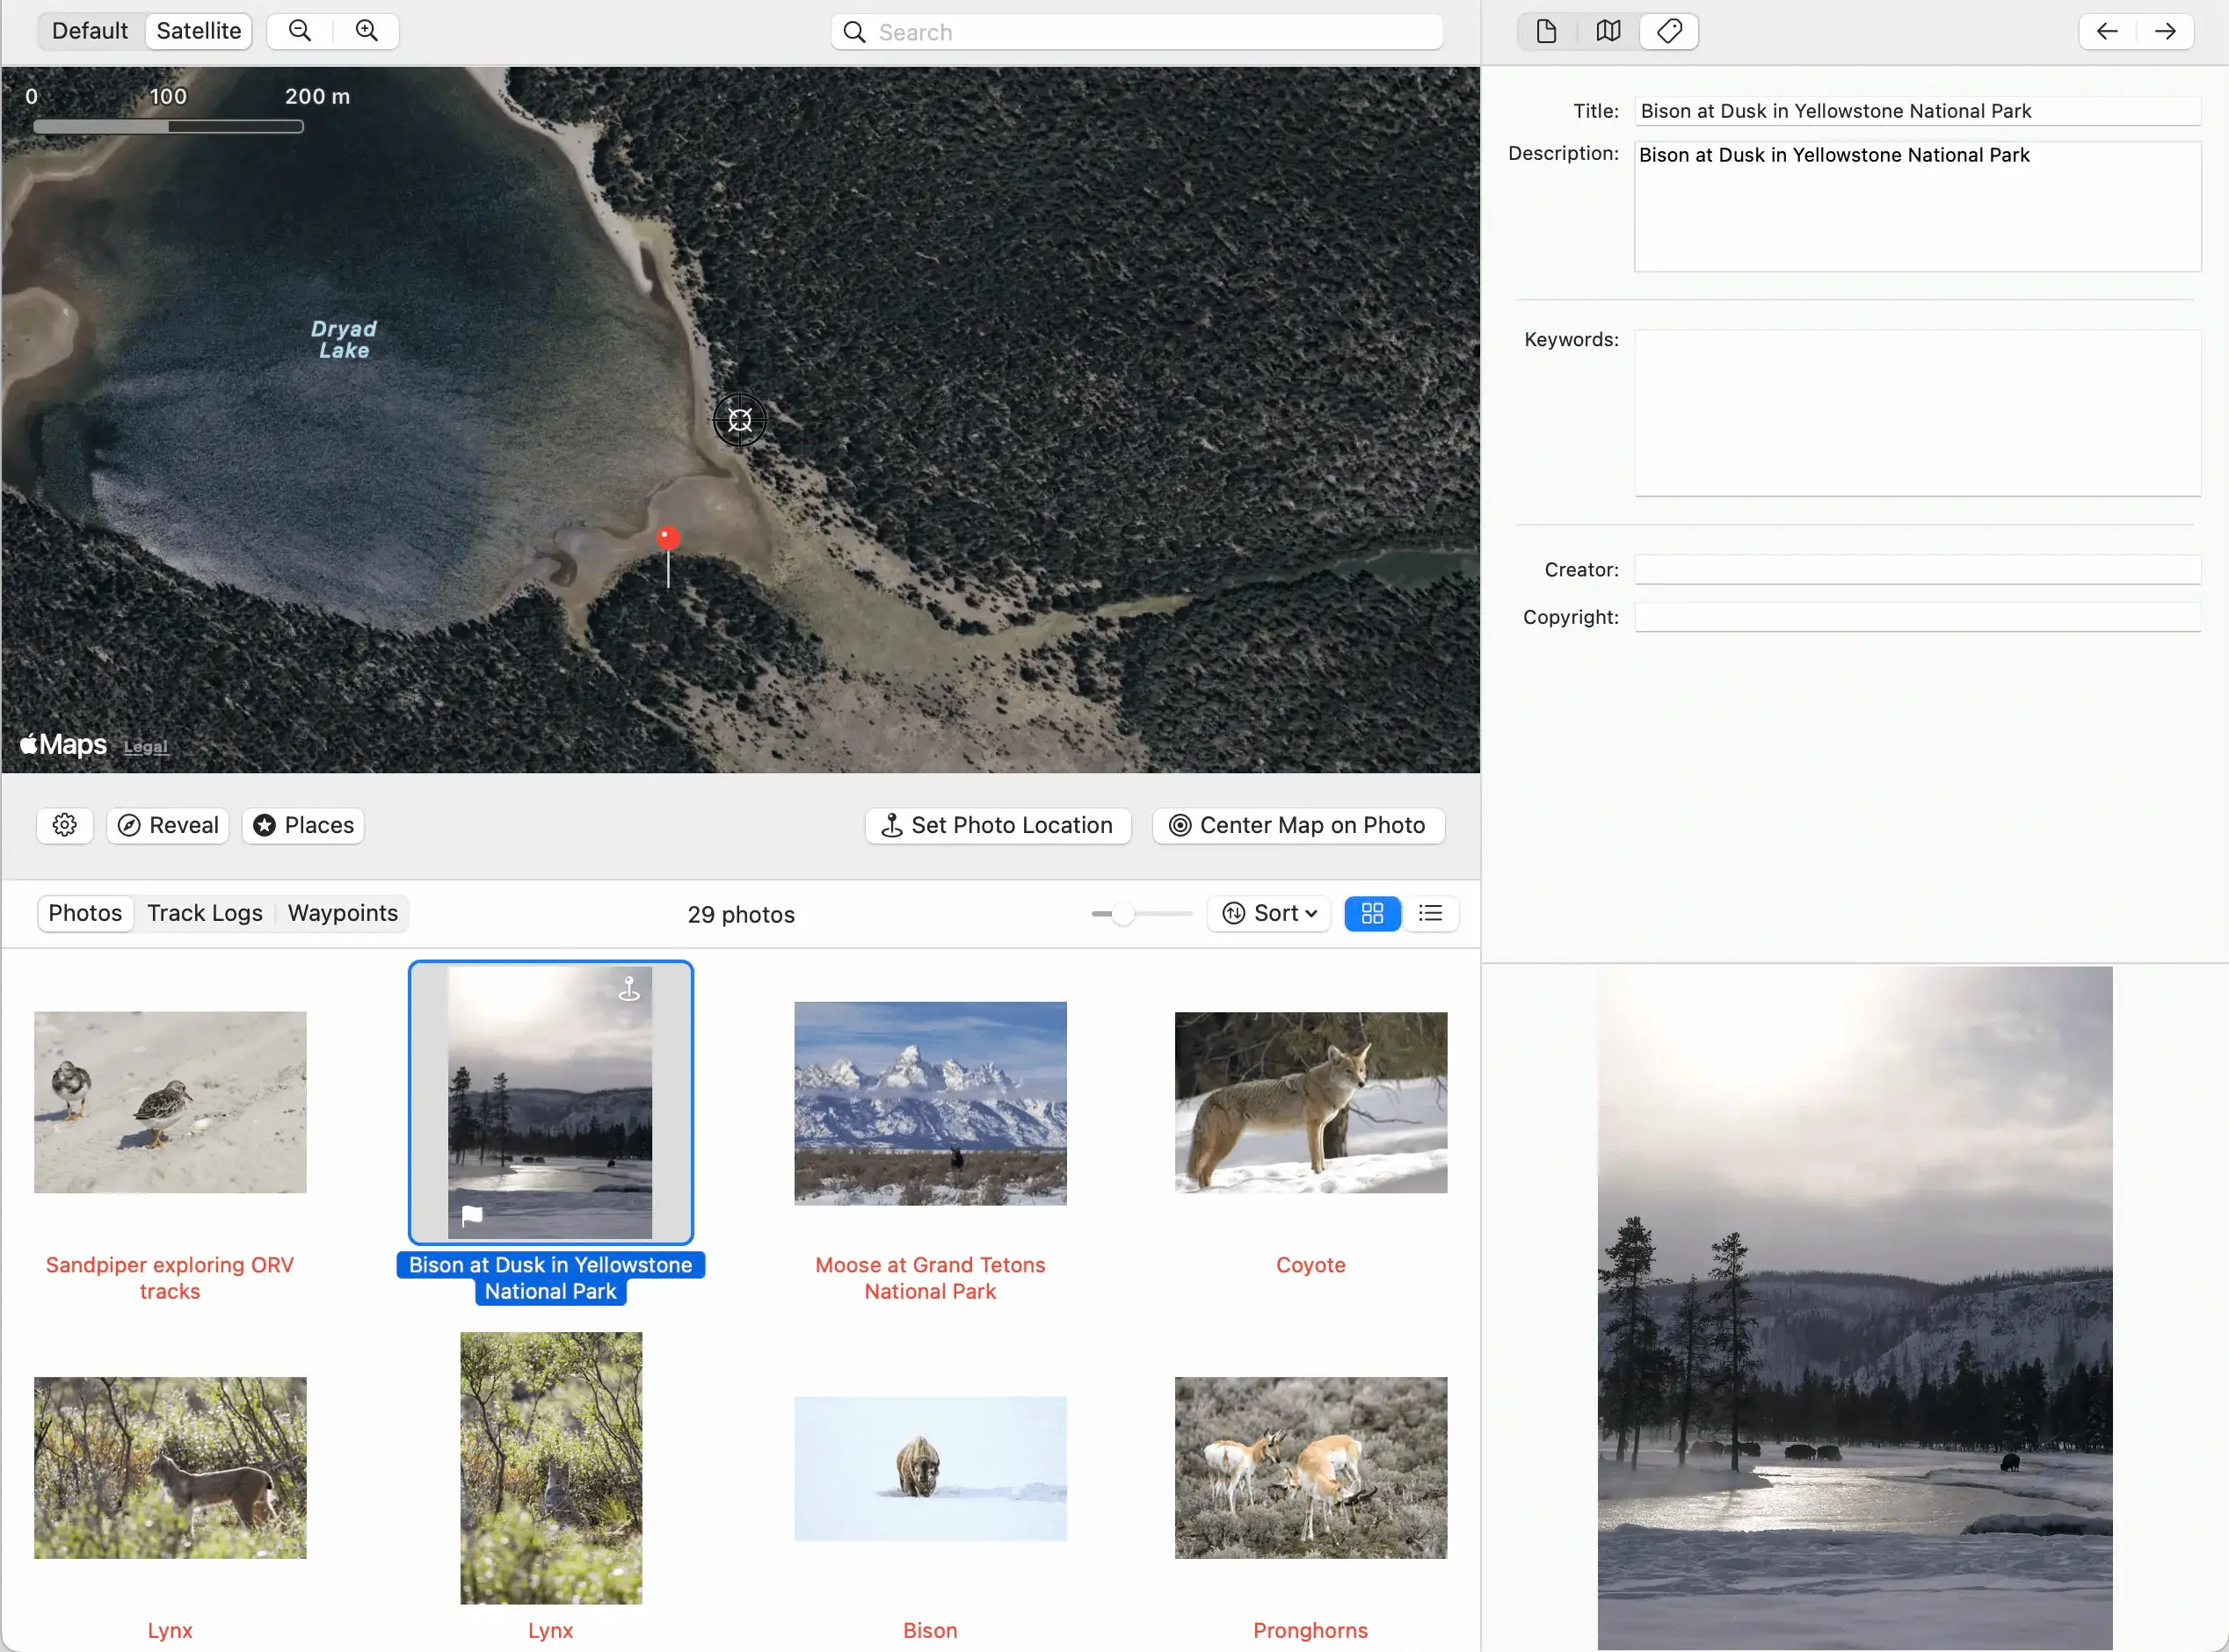
Manual Map Pinpointing
Drag photos onto an interactive map or search for a location by name. Ideal when you have a handful of photos and know where they were taken.
Copy from Reference Photo
Use one geotagged photo to tag others from the same location. The Lift & Stamp workflow is perfect for studio sessions or fixed shooting locations.
Camera Built-in GPS
Some Sony Alpha and Nikon cameras have built-in GPS. Even then, HoudahGeo adds value: bulk editing, altitude, direction, and location name fields the camera can't write.
How Does the GPX Workflow Work in HoudahGeo?
The GPX track log workflow is the fastest and most accurate way to geotag an entire shoot. Here's how it works in three steps.
Load Your Photos and GPS Track
Import your photos into HoudahGeo by dragging them from Finder, or use Load > Add Photos from Files…. HoudahGeo reads the capture timestamp from each photo's EXIF data.
Then import your GPS track log: drag a .gpx file onto the HoudahGeo window, or use Load > Import Track Logs and Waypoints from Files…. The track appears on the built-in map.
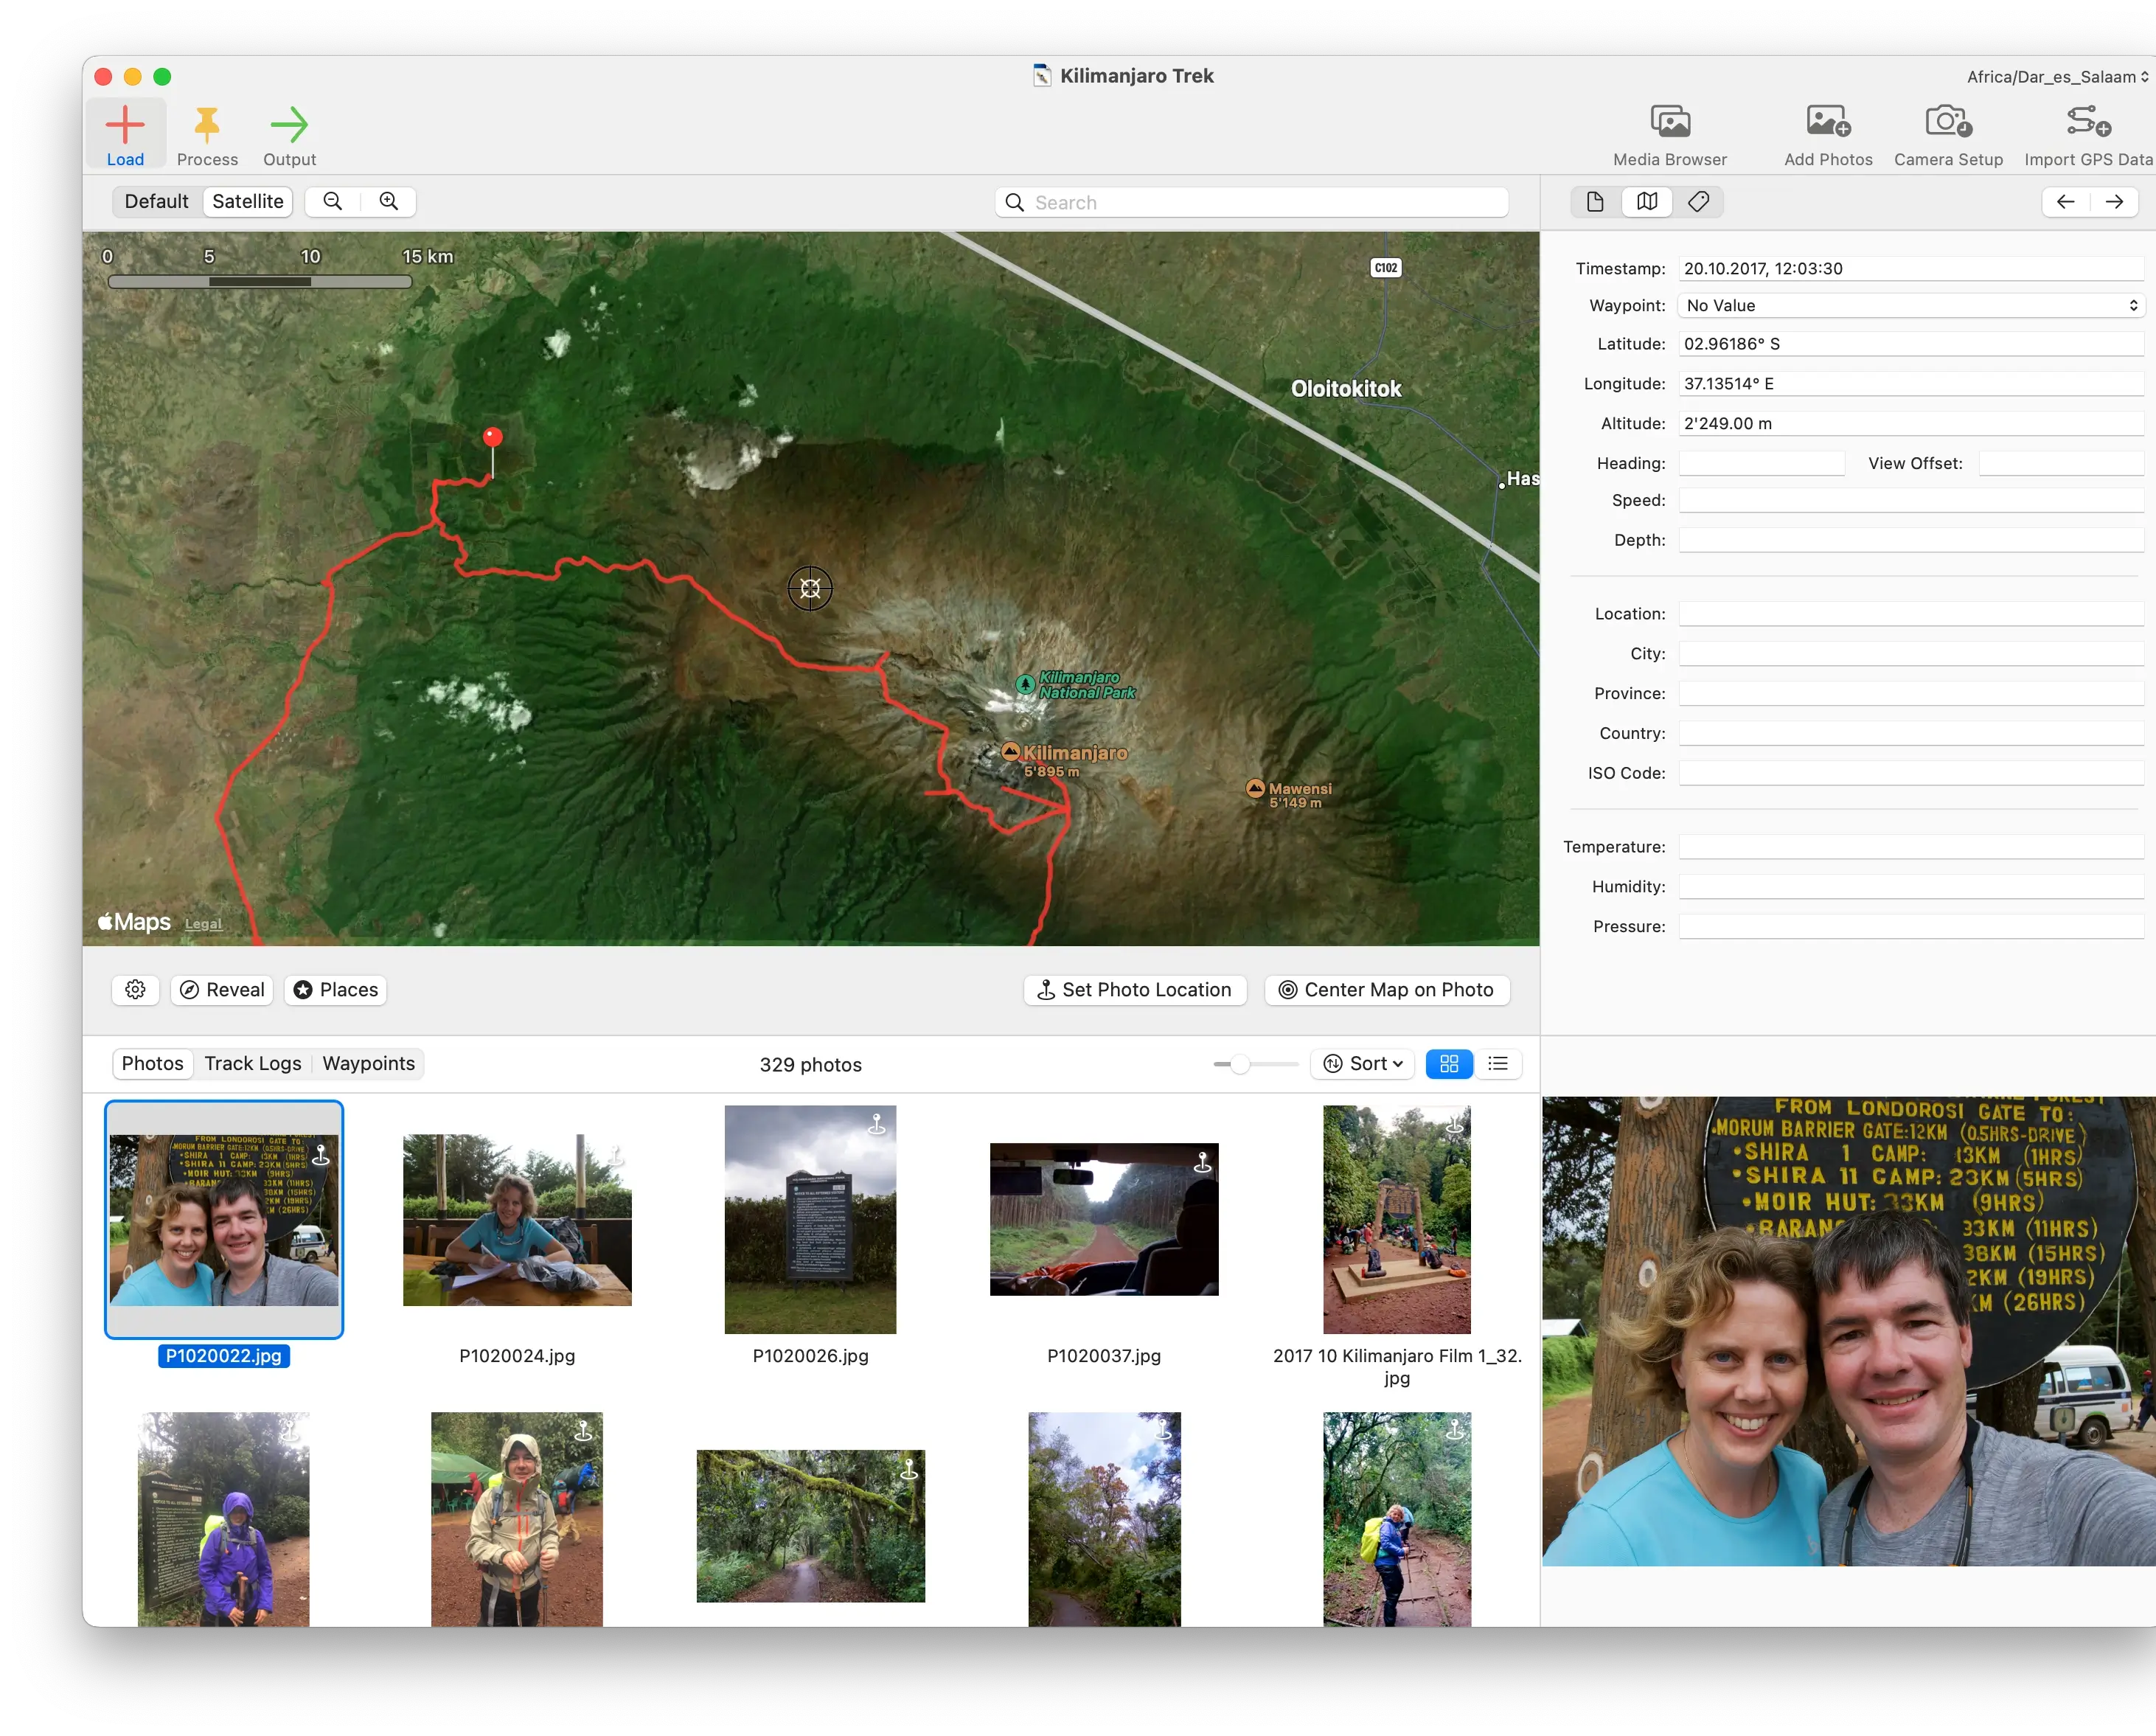
Process: Geocode and Verify
Choose Process > Geocode using GPS data…. HoudahGeo matches each photo's timestamp to the nearest point on the GPS track — interpolating position between track points for maximum accuracy.
If your camera clock wasn't perfectly synchronized with GPS time, use the Photo Time Method: photograph a reliable time source (your phone's clock screen) and HoudahGeo calculates the exact offset.
After geocoding, all photos appear as pins on the map. Click any pin to inspect the assigned location. Drag pins to manually correct any mismatches.
Output: Write EXIF/XMP to Files
Choose Output > EXIF/XMP Export… to permanently embed GPS data into your photo files.
- Select which photos and video files to update
- Select which metadata fields to write (coordinates, altitude, direction, timestamps)
- Choose sidecar handling for JPEG, RAW, and video files
- Use "Create Copies" to leave originals untouched
When Should You Geotag Photos Before Importing into Apple Photos?
If you use Apple Photos with iCloud Photos, there's an important workflow consideration: geotag your photos before importing them into Apple Photos. For the complete guide to geotagging photos on Mac — including why cameras lack GPS and how to choose the right workflow — see the Mac photographer's guide.
Apple Photos stores location data in its app database — not embedded in the file's EXIF. If you modify a file after it's in iCloud Photos, iCloud will not re-sync the updated file. For the complete explanation, see Apple Photos Locations vs. True Geotagging, and for step-by-step instructions, see How to Add GPS Location to Photos in Apple Photos.
What Are the Best Practices for Geotagging Photos?
- Sync your camera clock before every trip. GPS track matching accuracy depends entirely on timestamp synchronization — even a 10-second error puts your photo 150 meters off at walking pace.
- Log GPS continuously during shooting. A logging interval of 5–15 seconds provides excellent accuracy for most photography.
- Archive your GPX files alongside your photos. GPS tracks are irreplaceable — back them up and keep them organized with the corresponding images.
- Add reverse-geocoded location names. City, state, and country names in IPTC fields make your archive searchable in any cataloging app that supports location search.